Adding Custom Catergories and Locations
Customize Your Storefront | Organize Your Products
Once your store is set up and products are added, you can customize your storefront to bring it to life! You can even add custom categories for your products, ensuring everything is organized just the way you want.
1. Access your dashboard and go to My Products. Select the product to which you want to add a custom category.
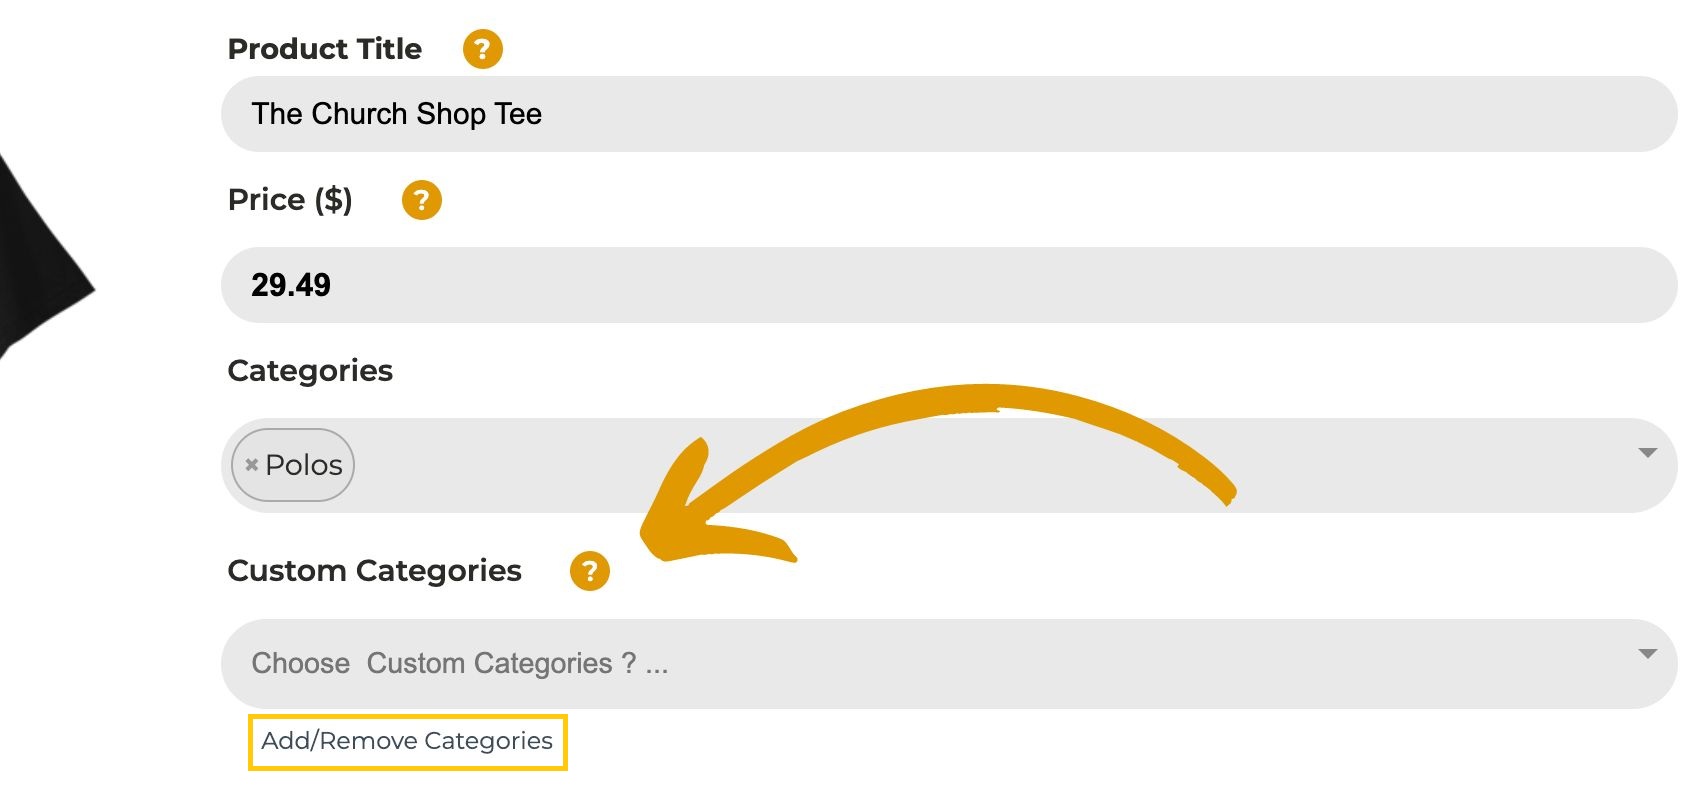
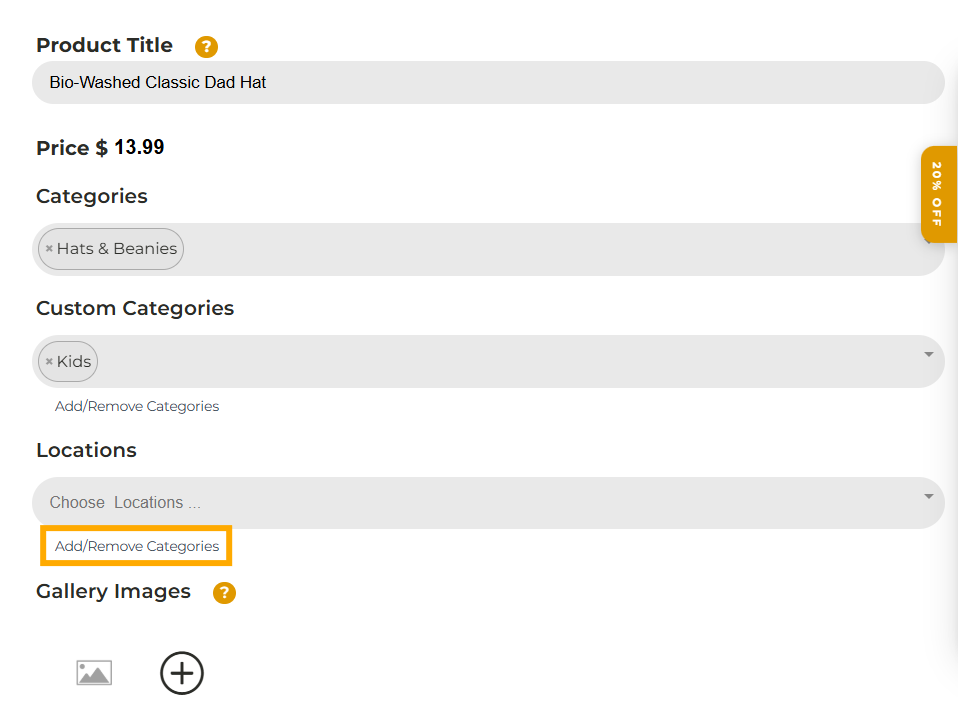
2. Under the Custom Categories, click on add/remove categories.
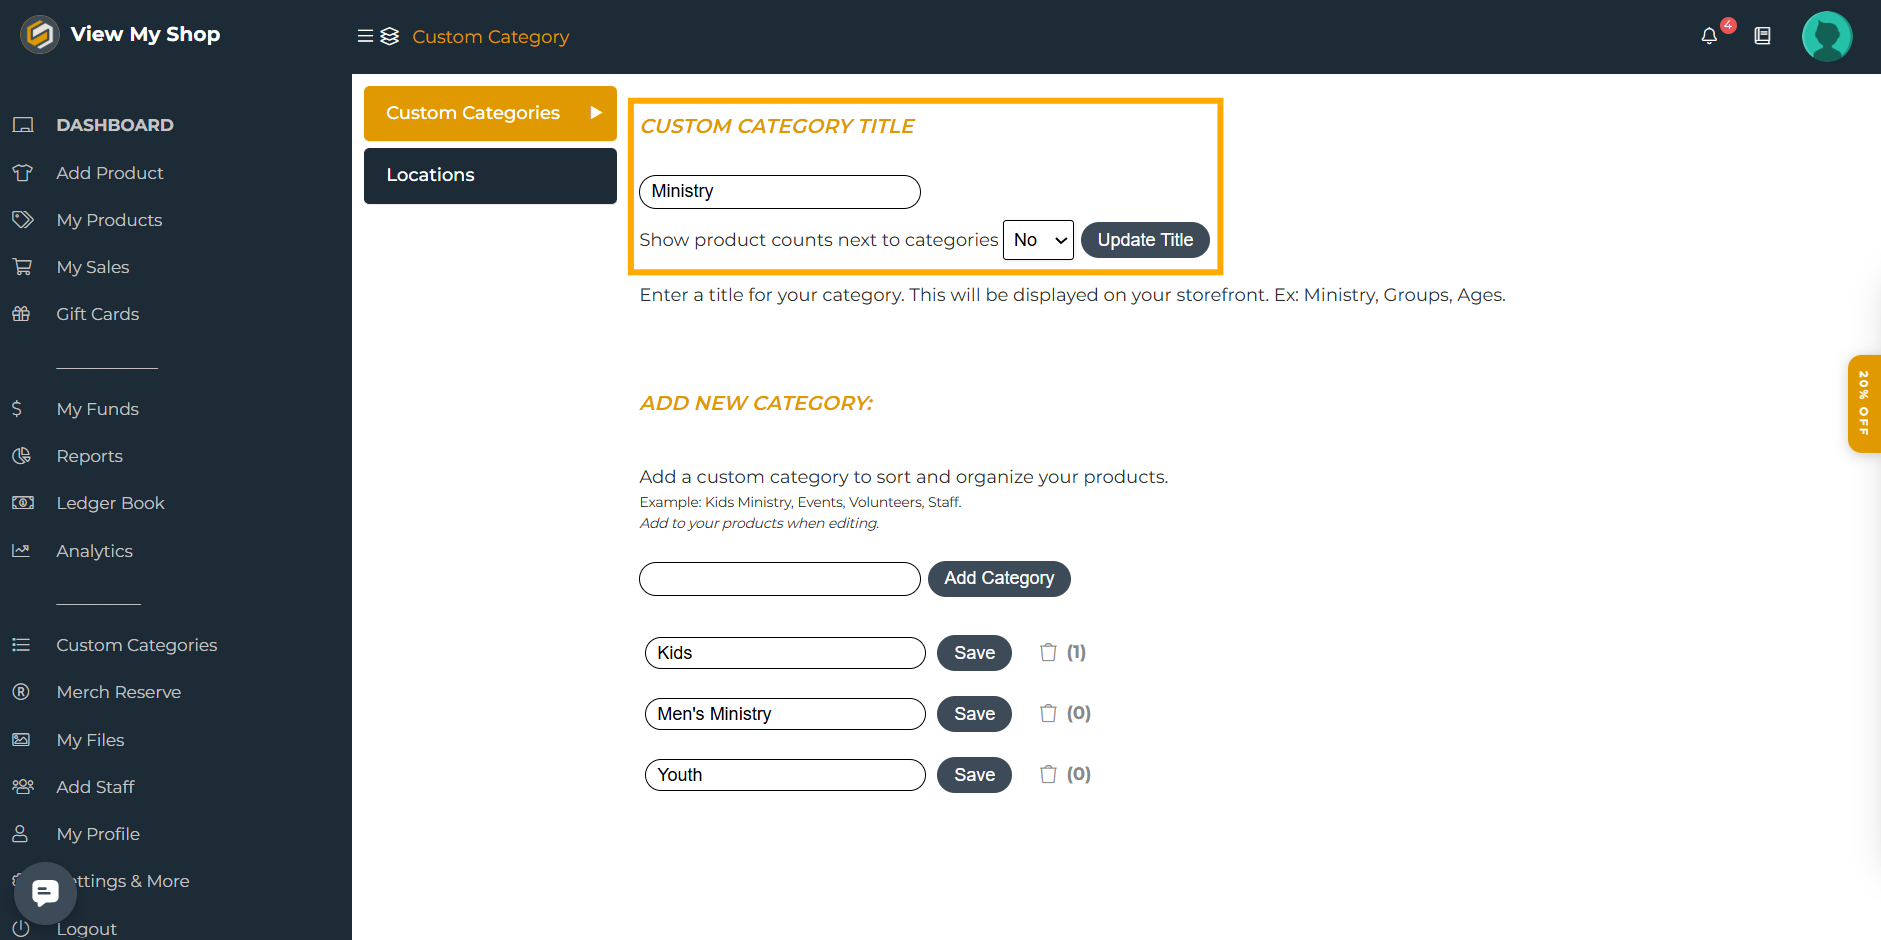
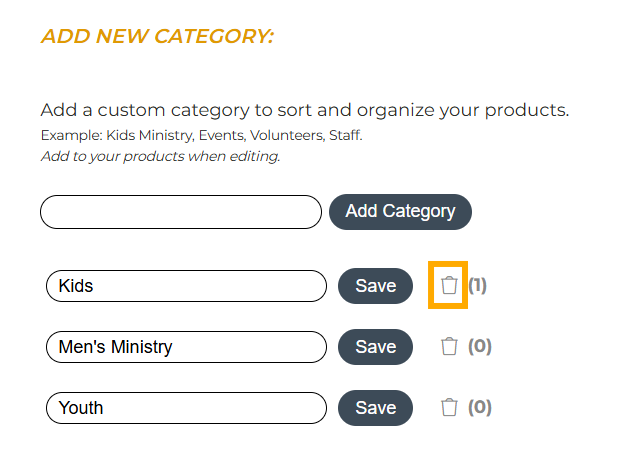
3. Enter a title for your Custom Category (e.g., “Ministry”), then click “Update Title.”
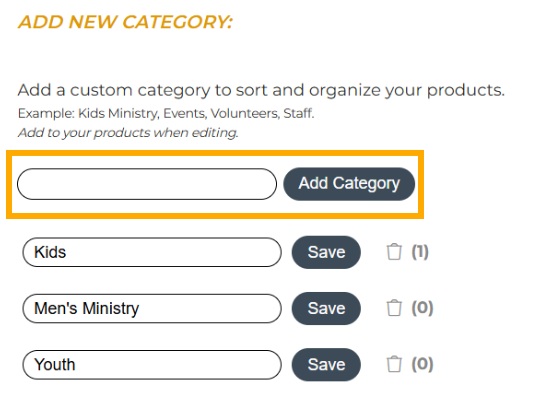
How to add categories: Just type in the category name and click "Add Category".
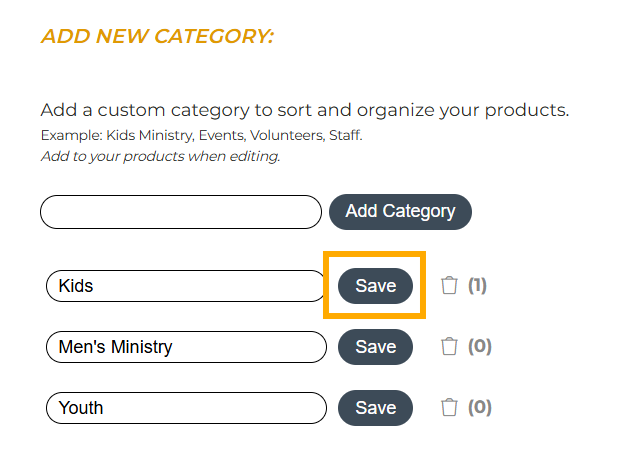
How to edit categories: Choose the category you want to edit, make your changes, and click Save.
Note: The number next to the trash can icon indicates how many products are in that specific category.
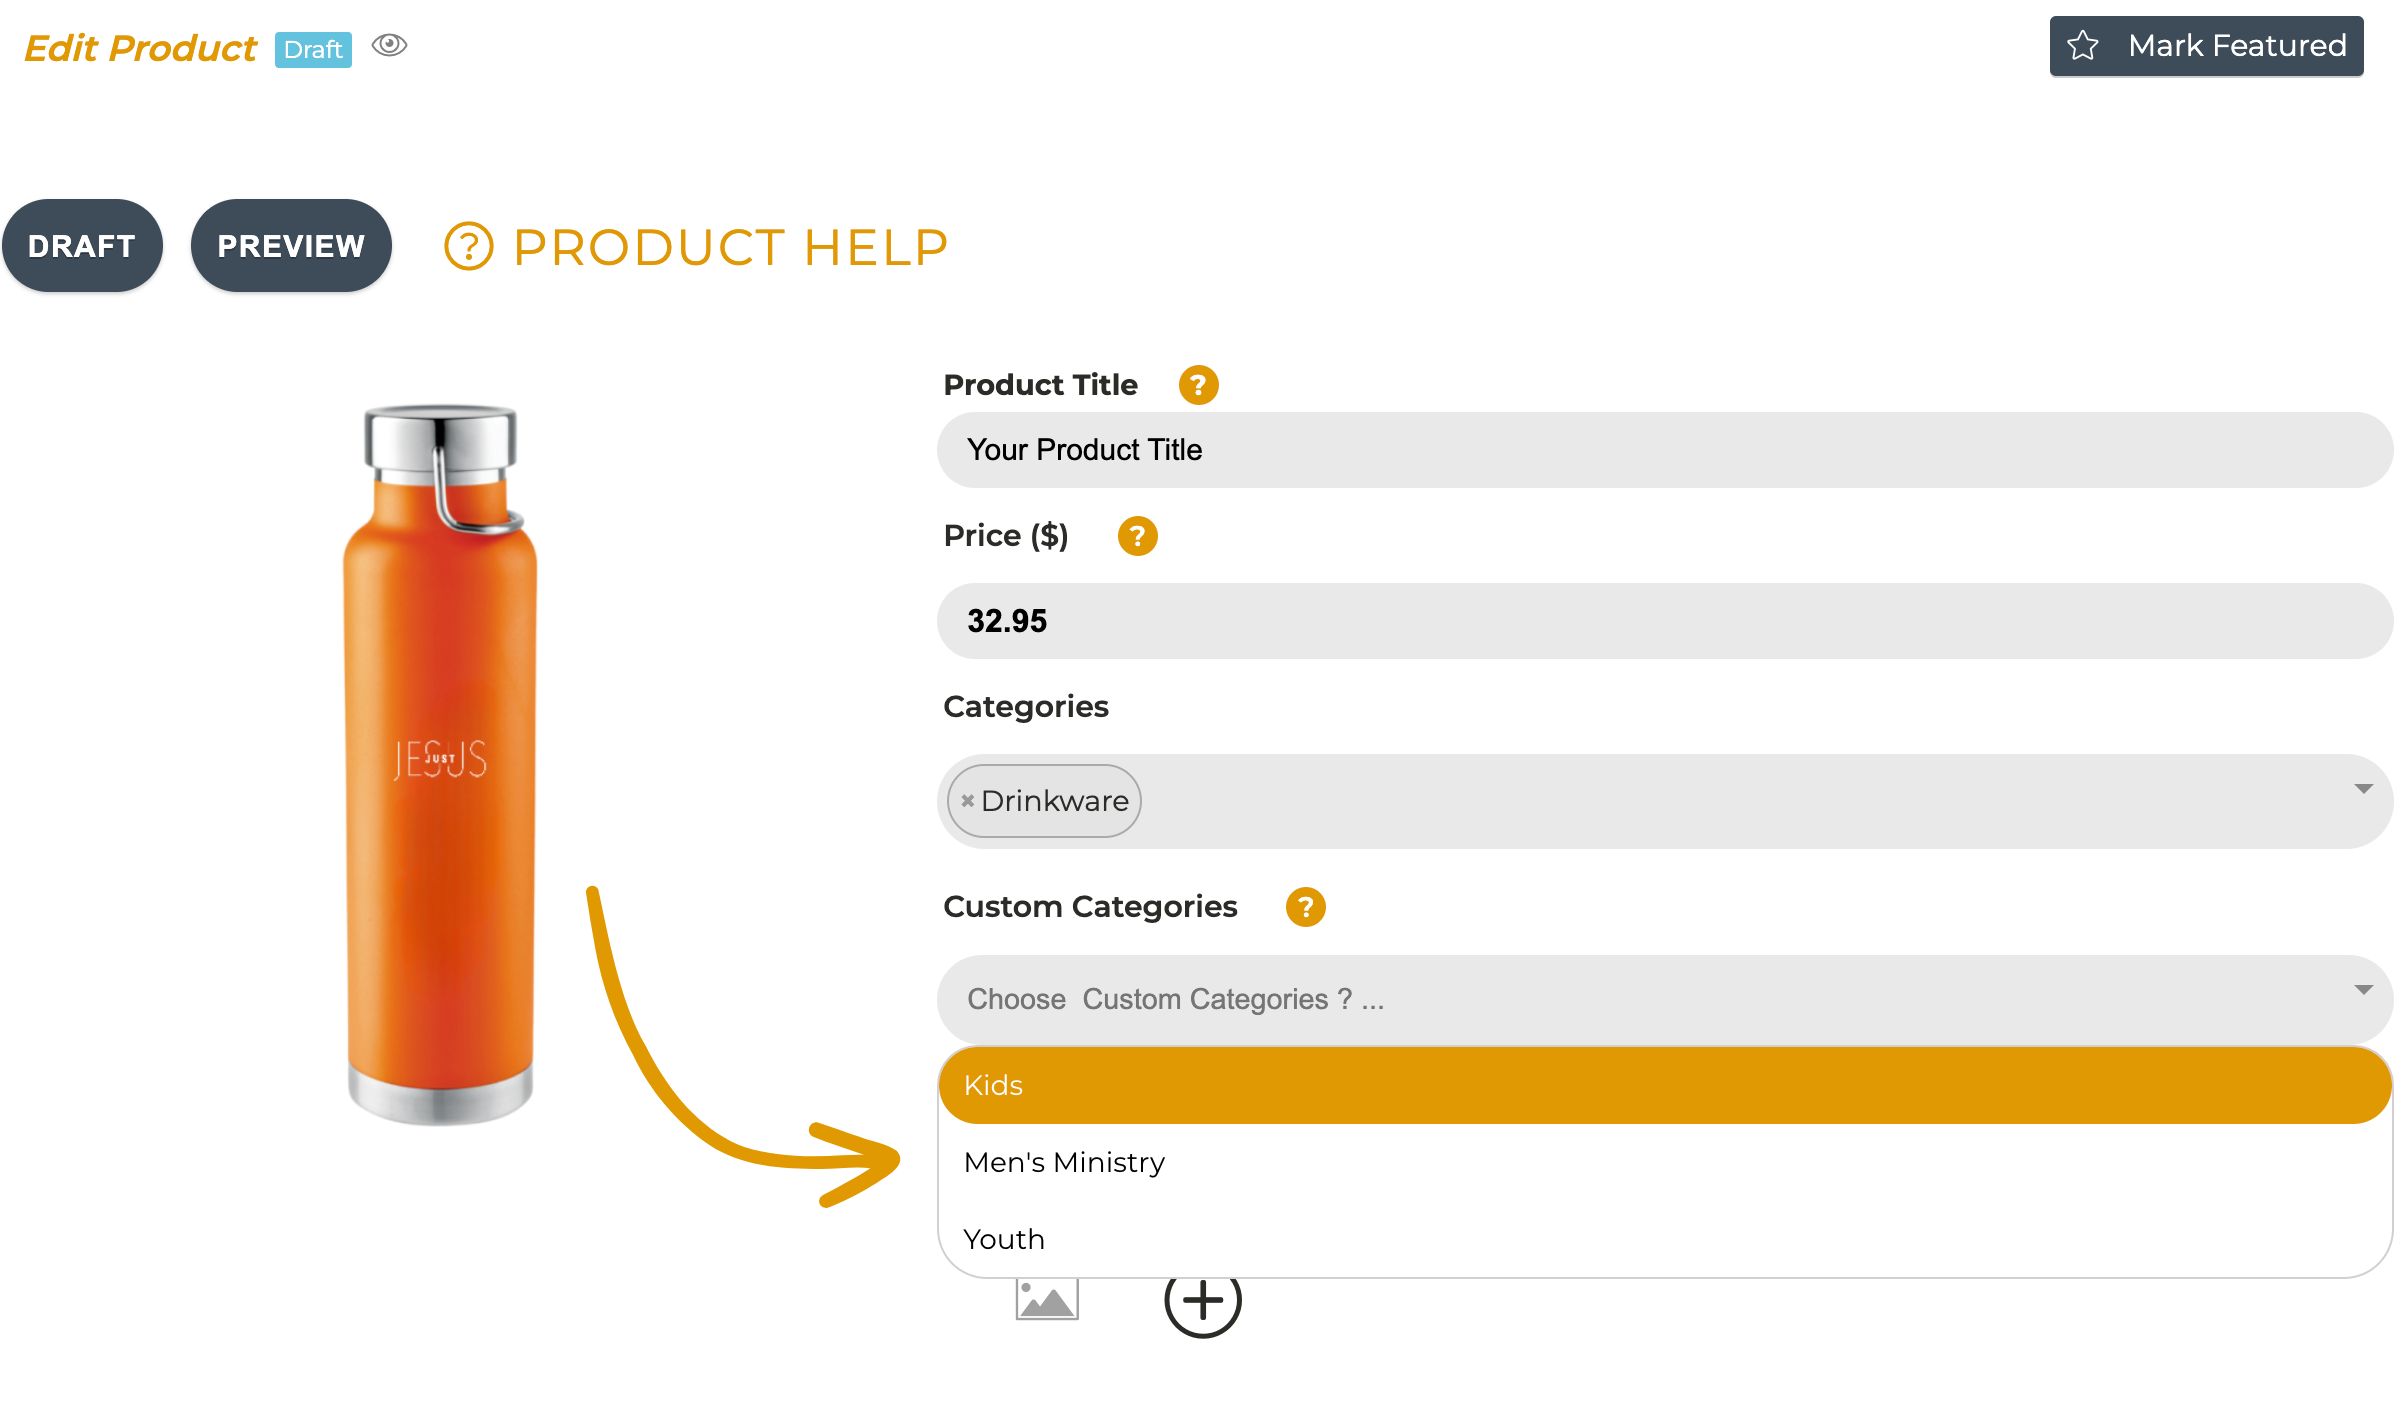
4. Once you're back on the product page, select the appropriate custom category for your item then hit Submit to save.
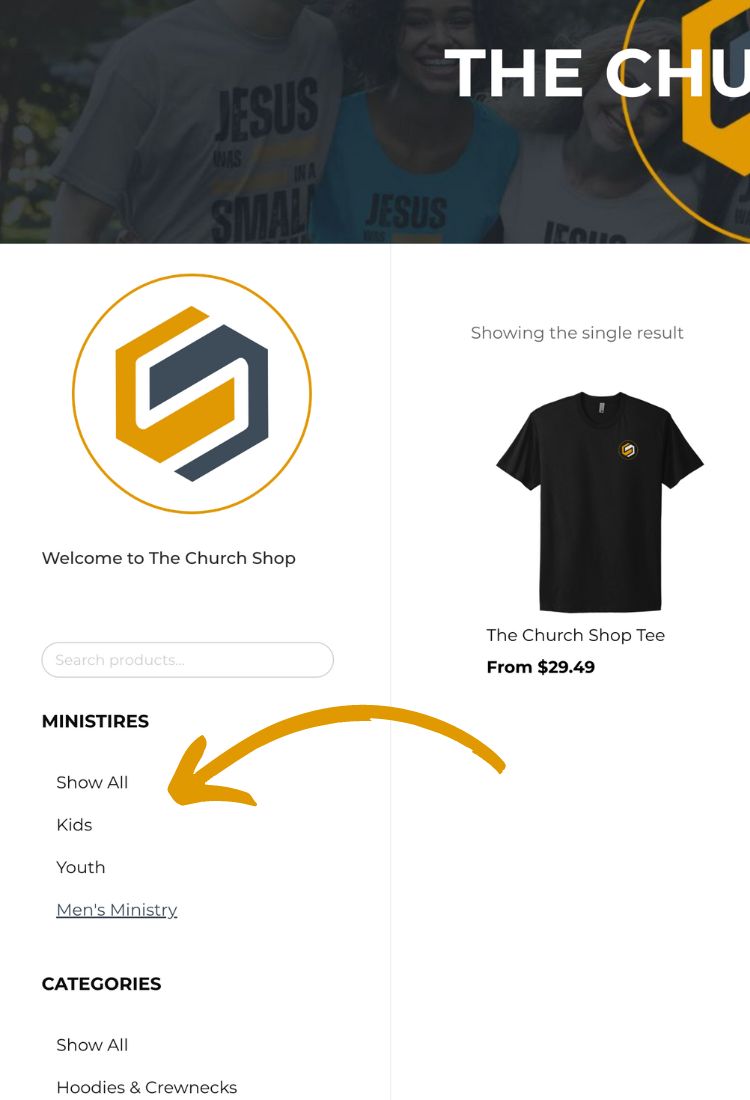
5. Visit your Storefront. The Custom Categories will be displayed in the left panel below your Store logo.
Adding Locations
You can now organize your products based on their locations! This makes it easier for shoppers to find the right items for the right locations.
Steps to Add a Location
Access your dashboard and go to My Products.
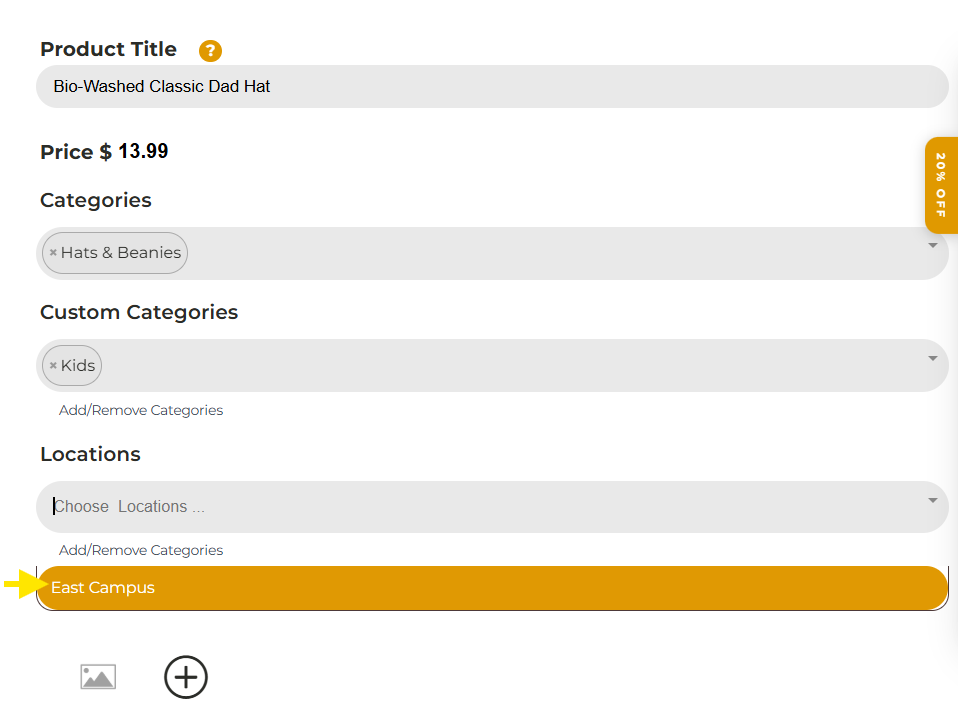
Select the product you want to assign to a custom location.
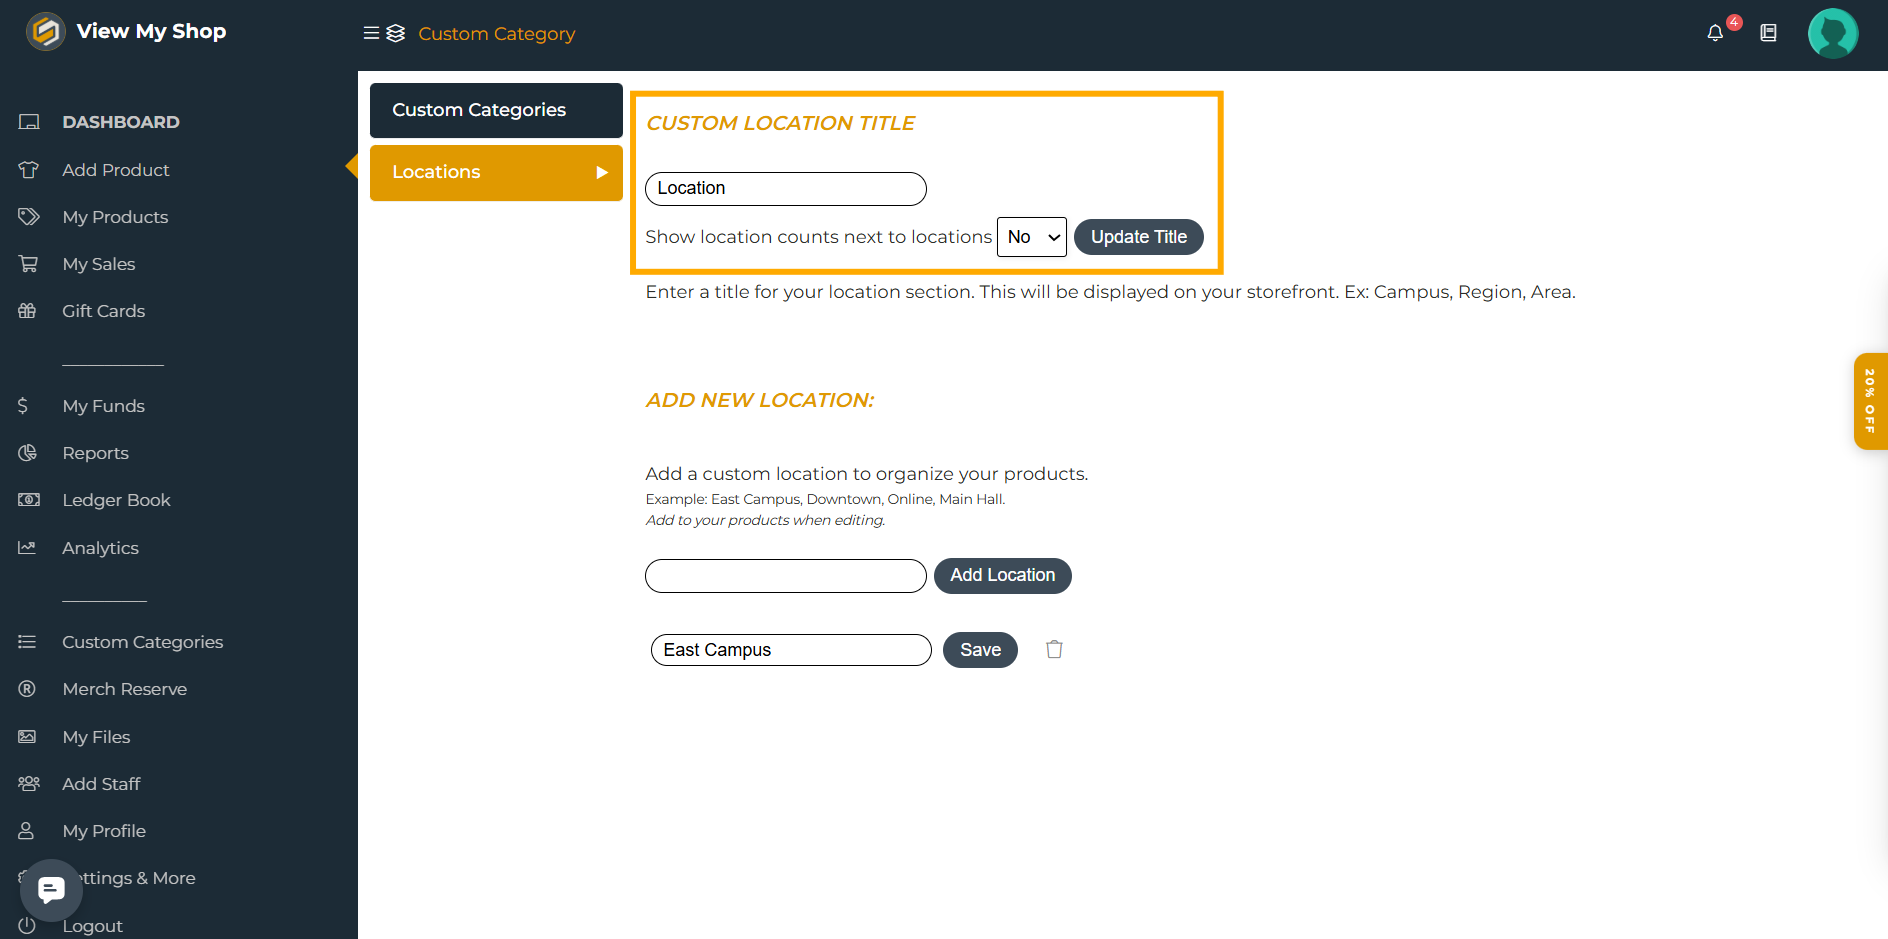
Under Locations, click Add/Remove Categories.
In the Location box under Custom Categories:
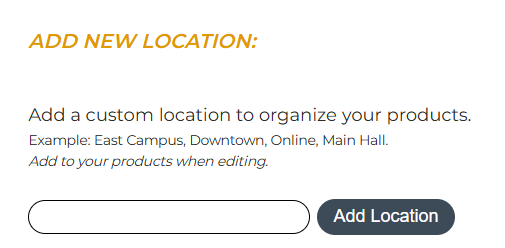
Add location: Type in the location name and click Add Location.
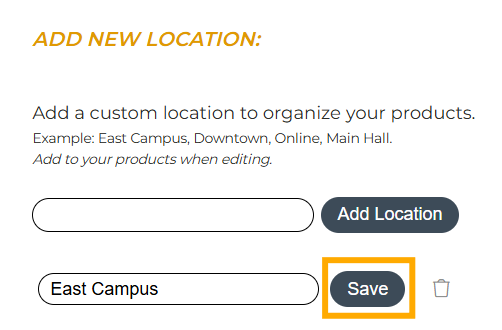
Edit categories: Choose the category you want to edit, make your changes, and click Save.
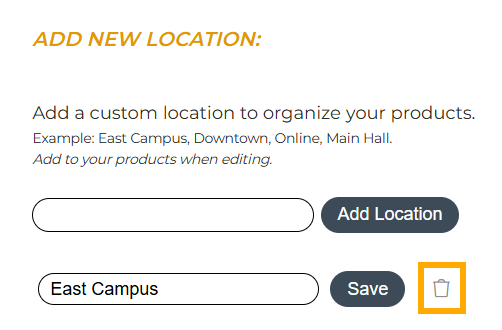
Delete categories: Click the trash can icon next to the Save button.
Return to the product page, select the appropriate location for your item, and click Submit to save.
Visit your Storefront, the location will appear in the left panel below your store logo.
NOTE: You can add custom categories and locations for new products after adding a design. These categories will be updated once your product has been submitted for review and approved.

